

Reacher Stephen
TikTok Shop Setup: Step-by-Step Guide for Seller Center and App Launch
Master your TikTok Shop setup. Follow our step-by-step guide to register in Seller Center, configure the mobile app, and launch compliant product listings.

tiktok shop setup
Prepare identity, tax, and business records before beginning your tiktok shop setup. Matching the details across your application and documents can prevent verification delays and give you a cleaner path from registration to launch.
Key Takeaways
- Gathering your identity, tax, and business documentation before you start registration removes the most common bottleneck in the entire onboarding process.
- Every detail on your application must match your supporting records exactly, because even small mismatches can trigger verification holds that cost you selling days.
- Preparation is not busywork; it is the fastest route from account approval to your first live product listing.
- Sellers who treat document readiness as a revenue strategy consistently launch faster and capture early algorithm momentum on the platform.
- A disciplined setup phase protects your timeline and lets you shift focus to content and conversion once your shop goes live.
Use the checklist below to choose the right seller profile, organize your files, and register through the correct portal. Keep compliance tasks separate from later catalog and fulfillment work so you can resolve account verification issues before launch.
US sellers generally need to verify either a business or an individual. Businesses should prepare their legal name, tax information, formation records, and an authorized representative’s identity document. Individual sellers should prepare their legal name, tax identification information, and a current government-issued ID. Requirements can vary by seller type, so follow the document prompts shown in the official registration flow.
Pre-Registration Document Checklist for US Sellers
Choose your seller type before opening an application. For a business profile, make sure the legal business name and address match your tax and formation records. For an individual profile, use the identity and tax details associated with the person registering. Gather clear, current files and check that names, addresses, and document numbers are legible. Keep records accessible during application, and avoid using a personal profile’s details to represent a separate legal entity.
Required Business and Tax Documents (EIN, W-9, Articles of Organization)
Assemble a business file before registration. An EIN identifies the business for federal tax purposes; a W-9 provides taxpayer information, and Articles of Organization can support the entity’s legal name and formation details. The registration form may request specific documents or information based on your business structure. Treat the on-screen requirements as authoritative, and do not assume that one document replaces another.
| Record | What to verify before submitting |
|---|---|
| EIN and tax details | Confirm the tax identification number and legal name match business records. |
| W-9 information | Check taxpayer name, classification, and address for accuracy. |
| Articles of Organization | Use a legible copy showing the entity name and state filing details. |
| Authorized representative ID | Confirm the person’s name matches the application and the ID is current. |
Individual Seller Options (SSN/ITIN, State ID, Driver's License)
Individual sellers may be asked for an SSN or ITIN and a government-issued identity document, such as a state ID or driver’s license. Enter the name exactly as it appears on the ID and provide a current address. Do not submit cropped, blurry, expired, or partially obscured images. If you register as an individual, keep that choice consistent throughout the application rather than switching between personal and business records midway.
Common Verification Rejection Causes and How to Avoid Them
Preventable problems often start with mismatched information or unreadable files. Compare your entries against the source documents before submission. If review is pending, check Seller Center for status updates and respond to document requests there rather than creating duplicate applications.
- Name mismatch: Match punctuation and entity wording to tax or formation documents.
- Image quality: Upload complete, readable files with all edges and text visible.
- Expired identification: Use a current ID with an unobstructed photo and details.
- Inconsistent address: Use the address supported by the requested records.
Step-by-Step Seller Center Registration and Account Linking

Once your records are ready, register through the official TikTok Shop Seller Center rather than a third-party login page. A tiktok shop seller account should be built around one consistent business or individual identity, with access controlled by the appropriate account owner. Save your sign-in method securely and confirm that you can reach the dashboard before configuring connected TikTok profiles. The official TikTok Shop Seller Center registration guidance describes the setup flow; follow its current prompts, since available options can change.
Desktop Registration via business.tiktokshop.com
On desktop, start at the official Seller Center entry point and select the US marketplace where applicable. Complete the requested email or phone verification, choose the seller type, enter business or individual details, and upload requested proof. Review every field against your documents before submitting. Use the dashboard to check account status and follow-up requests, whether approval is complete or review is underway. Keep a record of the login email, application details, and verification notices for your operations team.
- Open the official Seller Center and begin seller registration.
- Verify the contact method and select the correct seller profile.
- Enter legal, tax, and identity details exactly as documented.
- Upload clear files, submit the application, then monitor its status.
Mobile App Setup and Push Notification Configuration
After creating your account, install the official TikTok Shop seller app from your device’s app store and use the same credentials as your desktop login. Confirm the app name and publisher before entering account details. Allow notifications for verification updates, order or account alerts, and other operational messages you need to act on quickly. If the tiktok shop login fails, verify the email or phone used during registration, check for a verification prompt, and avoid repeatedly creating new accounts.
Linking Your Official TikTok Account and Marketing Account
Seller Center distinguishes an official account, associated with the shop’s public identity, from marketing accounts that support promotion. Review the account-linking options in the dashboard and authorize only profiles your business controls. An official profile can represent the shop, while marketing profiles can support additional promotional activity, subject to current account rules. Linking a Shopify or Amazon store is not the same as linking a TikTok profile; check Seller Center’s available integrations and authorization steps rather than assuming an external storefront transfers automatically.
| Account type | Primary role | Before linking |
|---|---|---|
| Official TikTok account | Represents the shop’s public-facing identity. | Confirm the profile is controlled by your business and reflects its brand. |
| Marketing account | Supports promotional activity for the shop. | Check account permissions and authorize the intended profile. |
For campaign planning, the FastMoss TikTok Data Analytics Platform can help teams review creator and product signals after account access is established. Keep analytics access distinct from Seller Center permissions, and grant each teammate only the access their role requires. The FastMoss TikTok Data Analytics Platform is a separate analytics resource, not a substitute for seller verification or account linking.
Configuring Fulfillment and Shipping Templates
Set fulfillment details before publishing products so each order has a valid ship-from location, return address, and delivery method. In Seller Center, open the shipping or warehouse settings and enter the addresses your operation can support. Confirm that staff can access inventory at the listed location and that returned packages can be received there. This keeps order routing aligned with your processes and prevents avoidable delays after launch.
Setting Up Warehouse Locations and Return Addresses
Add the location from which orders will ship, then provide a return address that is monitored and able to receive packages. Check street details, suite numbers, and ZIP codes before saving. If you use multiple facilities, assign inventory and products to the correct location so available stock reflects what each site can fulfill. Confirm the return address meets your business’s handling needs and matches the instructions you provide to customers.
Choosing Between Fulfillment by TikTok (FBT) and Seller Shipping
Choose the model your team can operate reliably. Fulfillment by TikTok (FBT) places eligible inventory into TikTok’s fulfillment process, while seller shipping leaves packing, carrier selection, and dispatch with your business. Review current eligibility, fees, inventory requirements, and service terms in Seller Center before deciding. The right choice depends on your stock location, order-handling capacity, and ability to meet the shipping commitments shown to buyers.
FBT and Seller Shipping: Operational Tradeoffs
Pros
- FBT: TikTok manages fulfillment for eligible inventory, reducing the seller’s direct packing workload.
- Seller shipping: Your team controls packaging, carrier selection, and dispatch procedures.
Cons
- FBT: Requires planning around eligibility, inventory intake, and applicable fees.
- Seller shipping: Your team must maintain accurate stock, meet handling deadlines, and keep tracking information current.
Creating Shipping Templates and Processing Timeframes
Create a shipping template that reflects the destinations you serve, available delivery methods, and realistic handling time. Check rates and service areas with your carrier, then ensure each product uses the correct template. Set processing time based on your actual pick-and-pack schedule, not an aspirational target. Review order queues regularly and update settings when carrier coverage, warehouse hours, or inventory locations change.
Product Catalog Upload and Compliance Checklist
Build the catalog only after your fulfillment settings are ready. In Seller Center, add products individually or use the available bulk upload tools, then complete the required fields for each listing. Select the most accurate category and check whether that category requires approval or supporting documents. TikTok Shop’s current category and product policies determine what can be listed, so review the applicable requirements before submitting. A deliberate review reduces rework and helps prevent listing restrictions.
Adding Products via Seller Center and Category Approval Process
For each SKU, enter the product name, description, price, inventory, variants, shipping details, and identifying information requested in the form. Provide a valid barcode when the category or listing flow requires one, and ensure the code matches the product variant. If approval is required, submit the requested evidence and wait for the decision before promoting the item. Keep product records consistent across variants so buyers receive the specific size, color, or configuration shown in the listing.
Avoiding Intellectual Property Violations and Listing Rejections
Use only brand names, logos, product photographs, and packaging images that your business owns or has permission to use. Do not imply affiliation with another brand or use a competitor’s trademark to attract search traffic. Check claims against product evidence and relevant policy rules; unsupported health, performance, or safety promises can trigger review. If a listing is rejected, read the stated reason, correct the specific field or asset, and resubmit through Seller Center rather than creating a near-duplicate listing.
Writing Compliant Product Titles, Descriptions, and Images
Write titles that identify the product and its defining attributes without promotional claims that cannot be verified. Descriptions should state materials, dimensions, included components, care instructions, and relevant limitations accurately. Use clear images that show the actual item, its scale, packaging, and important details. Check Seller Center’s current image specifications before upload, and avoid watermarks, misleading edits, or text that obscures the product. The FastMoss TikTok Data Analytics Platform can support product and market analysis as you plan listings; use it alongside policy review, not as a substitute for Seller Center approval. The FastMoss TikTok Data Analytics Platform is an analytics resource, while listing compliance remains your responsibility.
Activating Creator Affiliate Programs and Troubleshooting
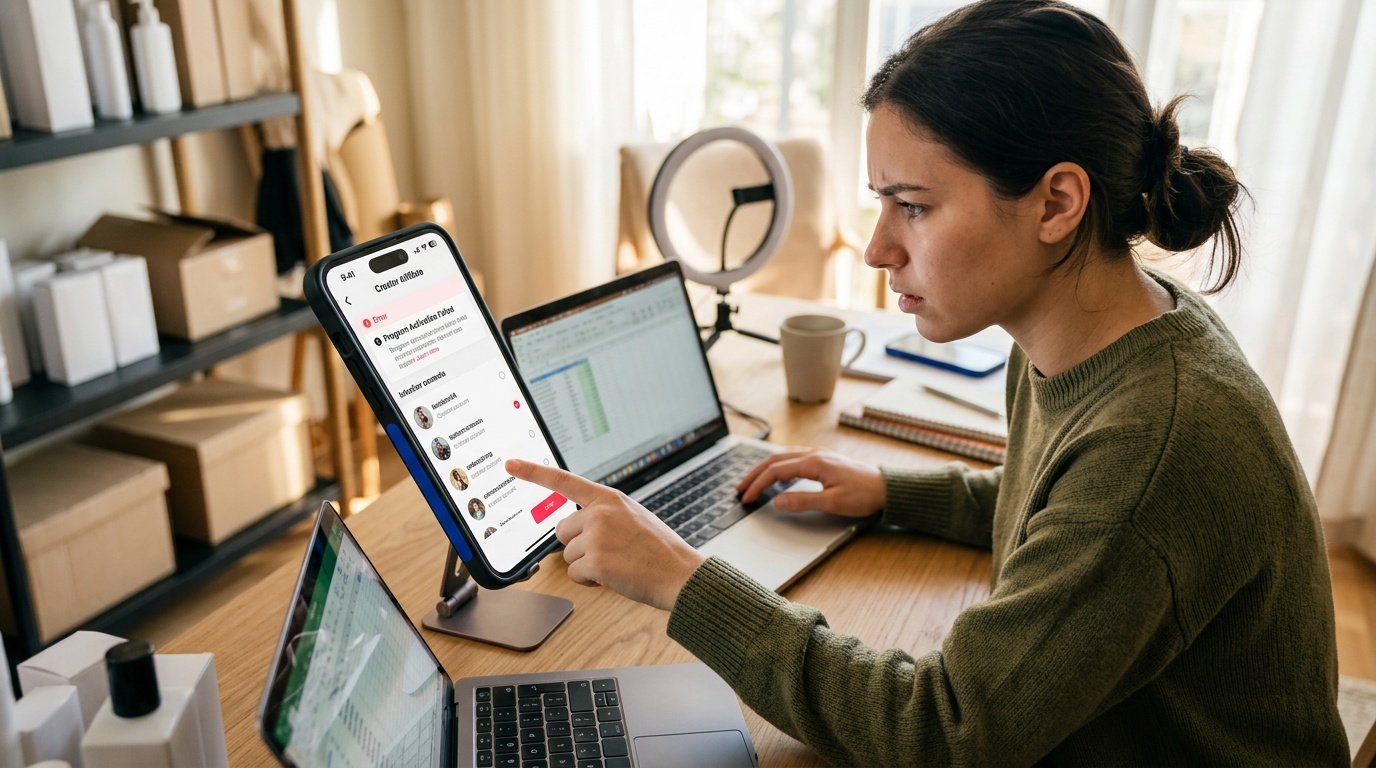
Once your products are approved and fulfillment is ready, activate affiliates to connect creator content with trackable orders. In Seller Center, review the affiliate or creator collaboration area and confirm the products, commission terms, and inventory you can support. Start with a focused selection rather than opening every listing at once. This final stage of tiktok shop setup works best when creator outreach follows clear product priorities and your team can respond promptly to sample requests and order activity.
Setting Up Open Collaboration and Target Collaboration Programs
Open collaboration lets eligible creators discover products and request to promote them under the terms you set. Target collaboration gives you a direct route to invite selected creators and propose terms. Use open access to broaden discovery, and targeted invitations when a creator’s audience, content style, or product experience fits a specific campaign. Confirm current commission settings and program options in Seller Center before publishing an offer.
| Program | Best use | Seller action |
|---|---|---|
| Open collaboration | Attracting creator interest across eligible products. | Set terms you can sustain and keep inventory available. |
| Target collaboration | Building a focused partnership with selected creators. | Send a specific offer and explain the product’s strongest demonstration points. |
Preparing for Creator Seeding and First Sales
Before sending samples, prepare a concise creator brief: the product’s intended use, verified features, required disclosures, and any claims creators must avoid. Show how to demonstrate the item on camera and include a direct call to action. High views do not guarantee purchases; prioritize useful demonstrations that answer buyer questions. Track sample delivery, published content, attributed orders, returns, and stock levels. Use verified order data rather than view counts alone to decide which partnerships merit continued investment.
Troubleshooting Verification Delays and Probation Period Limits
New sellers may face a temporary probation period with daily order capacity limits while performance is assessed. Treat the displayed cap as an operating constraint: pace promotions, keep inventory accurate, and avoid promising volume your fulfillment process cannot handle. If verification remains pending, check Seller Center for status messages or document requests and respond through the account. Do not submit duplicate applications, change business details without cause, or try to bypass account limits.
- Pending review: Check the dashboard and respond to any specific request.
- Creator offer unavailable: Confirm account status, product eligibility, and program settings.
- Order cap reached: Pause or adjust promotion until the account’s displayed capacity changes.
- Views without orders: Review product demonstration, audience fit, stock availability, and the clarity of the purchase prompt.
Frequently Asked Questions
How much does it cost to set up a TikTok Shop?
TikTok Shop setup costs vary by marketplace, seller type, and applicable selling fees, so sellers should review the current official fee schedule before registering. Registration requires accurate business or individual records, and additional expenses may include product, shipping, tax, and promotional costs.
Do you need 1,000 followers to open a TikTok Shop?
TikTok Shop setup does not generally require 1,000 followers to apply as a seller, but eligibility rules can vary by market and account type. Sellers should follow the current Seller Center prompts, select the correct profile, and complete identity, tax, and business verification.
Do you need an LLC to start a TikTok Shop?
A TikTok Shop seller account does not always require an LLC because US sellers may register as a business or an individual. Business applicants should prepare an EIN, W-9, formation records, and an authorized representative ID, while individual sellers typically provide tax details and a current government ID.
How do I activate a TikTok Shop?
TikTok Shop activation starts by registering through the official Seller Center, completing contact verification, selecting a seller profile, and submitting the requested records. Approved sellers can then access the dashboard, install the official seller app, enable notifications, and connect authorized TikTok profiles.
How do I set up a TikTok Shop as a beginner?
TikTok Shop setup for beginners starts with choosing a business or individual seller profile and gathering matching identity, tax, and address records. Register through the official Seller Center, upload clear files, monitor review requests, and configure catalog, fulfillment, and account connections after verification.
What documents do I need for TikTok Shop registration in the US?
US TikTok Shop registration usually requires business or individual identity and tax information, plus supporting documents shown in the Seller Center application. Businesses may need an EIN, W-9, formation records, and an authorized representative ID, while individuals may need an SSN or ITIN and a current state ID or driver’s license.
Why is my TikTok Shop application still pending?
A TikTok Shop application may remain pending because submitted names, addresses, tax details, or identity files do not match, or because documents need review. Check Seller Center for requests, submit complete readable files, and avoid creating duplicate applications while verification is in progress.